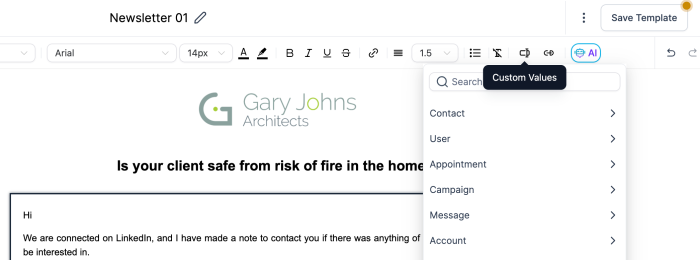
To include personalization in the template, put in the context (e.g. “Hi “) then click on the Custom Values tool button in the upper right:
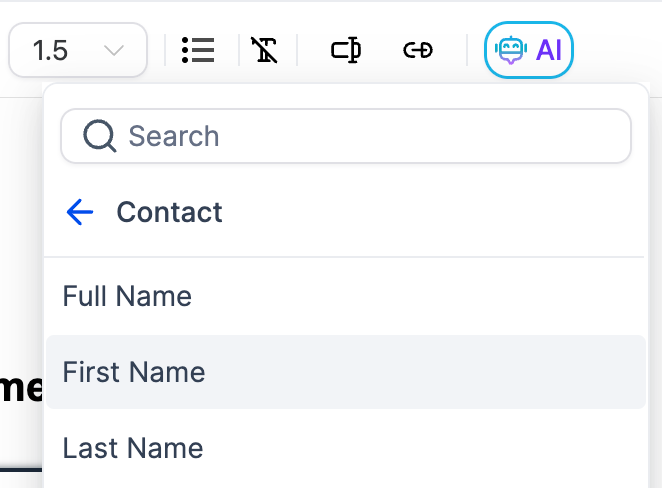
Then click on Contact, and select First Name (or whatever is appropriate):
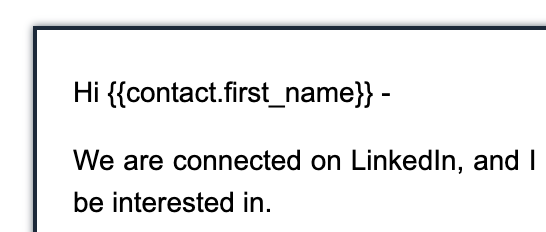
This inserts a “field reference” - in this case {{contact.first_name}} into the text of the template, which will be filled in when the email is sent out. In this screenshot, I’ve added a dash after the name, so it will read:
Hi Gary -
You can use the 3 dot symbol in the upper right and select from the drop-down menu Test Email, then put in a contact email.
I added my email to your account and sent myself a test, here is a screenshot of the top of the newsletter:
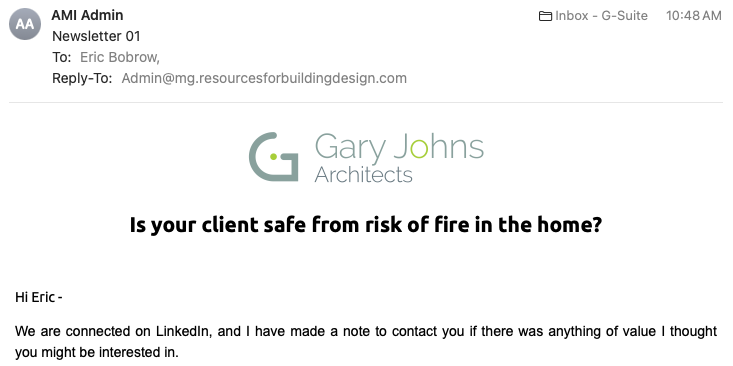
Note that I am logged in to your account as an administrator, that is why it shows that the email is coming from AMI Admin; if you sent it, this would show your name or company name.
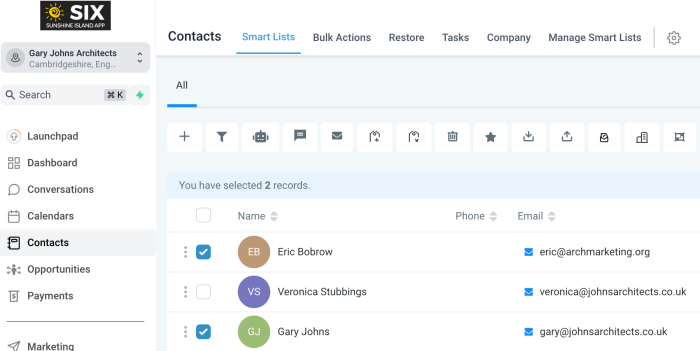
Once you’ve finalized the Newsletter, you can send to a batch of contacts in a variety of ways. The simplest is to bring up the Contacts area, then check the boxes for the desired recipients:
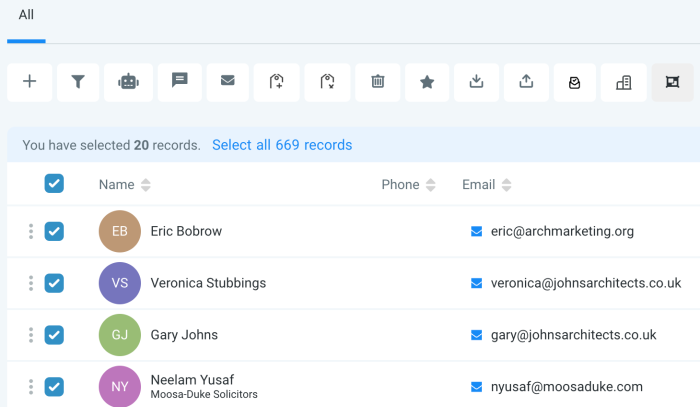
You can also click the checkbox at the top of the list to select all that are on the current page:
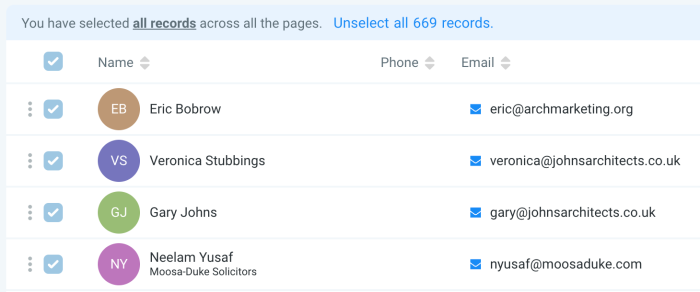
You can also select all that are in the current list by clicking the blue highlighted text “Select all XXX records”.
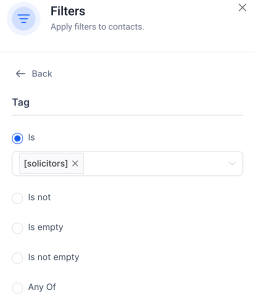
To be more selective, use the More Filters button, and select a criteria, such as Tag, so you can filter and show all contacts that have a tag, such as [solicitors] or [court of protection]. Click Apply to use this criteria.
In your account, this pulls up 294 records:
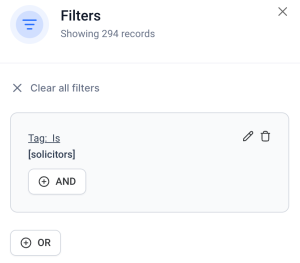
Down at the bottom of the Filters sidebar, you can use the “Save as smart list” button and give it a name, such as “Solicitors”:
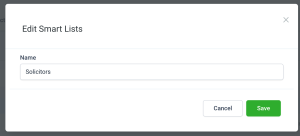
Now you can pull up a list with that criteria by clicking on the Smart List in the top of the Contacts area:

You can have as many Smart Lists as you wish, each with somewhat different criteria in terms of tags.
So to send the newsletter to all Solicitors in your contact list, bring up that Smart List (which I have saved to your account) and click the Select all 294 records text:
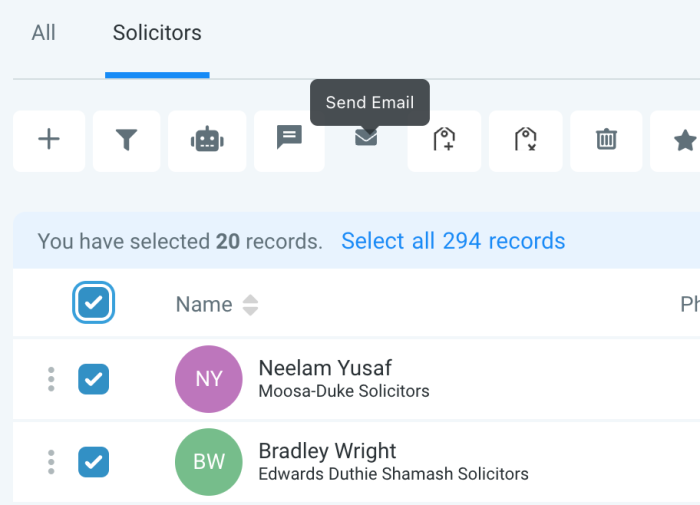
Then click the Send Email button:

In the Send Email dialog, review the message to confirm that you are sending to the appropriate number of contacts, then click OK, proceed:
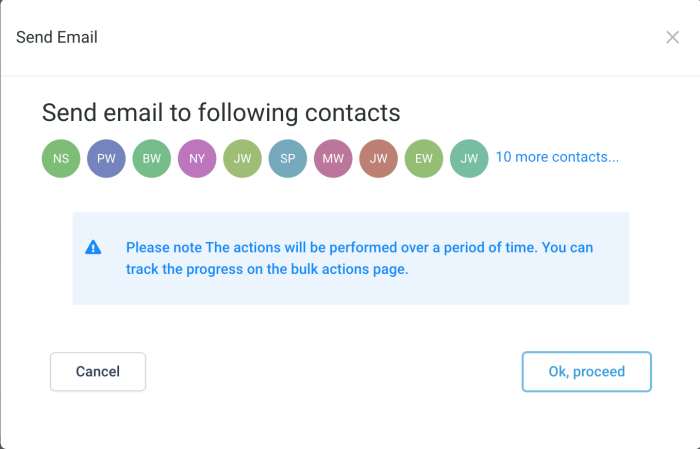
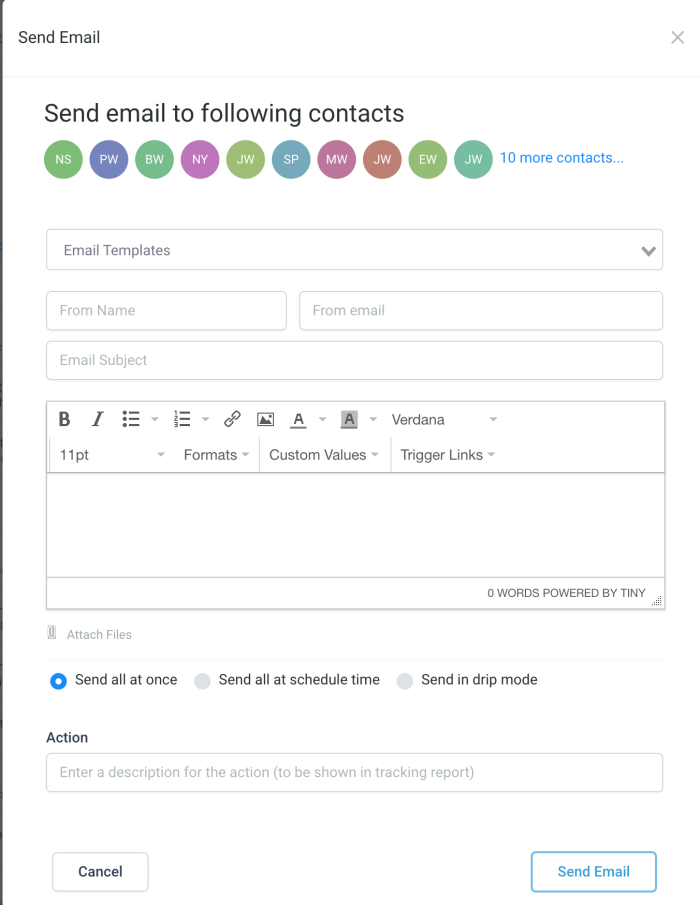
In the next step, either manually fill in an email, or choose your Email Template:
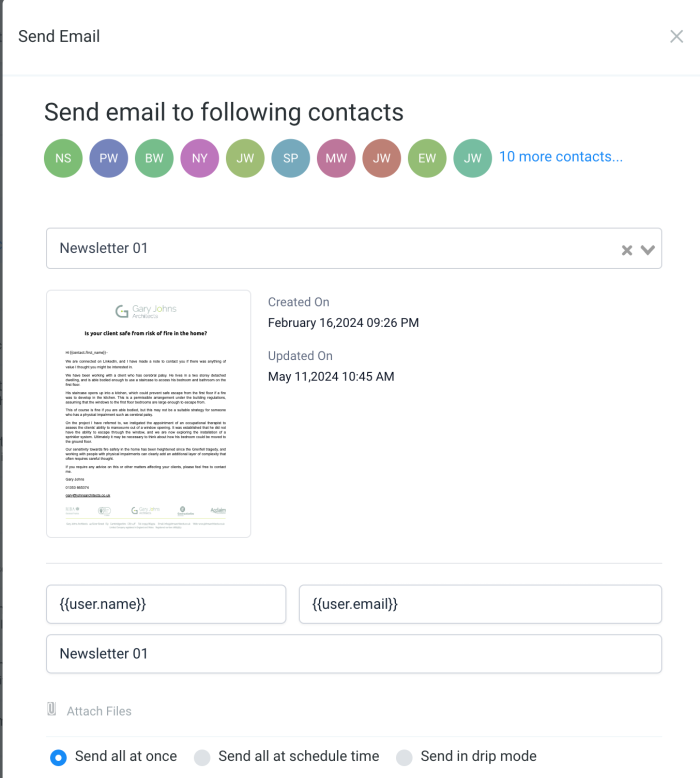
When you are ready, fill in the Action field to make a descriptive note for your activity log, then click Send Email.

